RabbitMQ Installation
RabbitMQ Installation
- OS: macOS
- 설치도구: homebrew
RabbitMQ 설치
설치하기 전에 brew가 최신버전인지 확실히 한다.
1
brew update
brew를 통해 RabbitMQ 서버를 설치한다.
1
brew install rabbitmq
RabbitMQ의 서버 스크립트나 CLI tools가 /usr/local/opt/rabbitmq/sbin에서 접근 가능한 경로상에 설치되어있을 것이다. 바이너리에 대한 링크파일이 /usr/local/sbin에 생성되어 있을텐데, 어떤 경로에서도 실행할 수 있게 환경변수를 추가해준다.
1
export PATH=$PATH:/usr/local/sbin
위의 설정을 사용하는 쉘의 설정파일에 추가해준다. (bash의 경우 ~/.bashrc, zsh의 경우 ~/.zsh)
이제 rabbitmq-server명령어로 서버를 실행할 수 있다.
1
2
3
4
5
6
7
8
9
10
11
12
13
14
15
16
17
18
19
20
21
22
23
24
> rabbitmq-server
...
  ##  ##      RabbitMQ 3.9.13
  ##  ##
  ##########  Copyright (c) 2007-2022 VMware, Inc. or its affiliates.
  ######  ##
  ##########  Licensed under the MPL 2.0. Website: https://rabbitmq.com

  Erlang:      24.2.1 [jit]
  TLS Library: OpenSSL - OpenSSL 1.1.1m  14 Dec 2021

  Doc guides:  https://rabbitmq.com/documentation.html
  Support:     https://rabbitmq.com/contact.html
  Tutorials:   https://rabbitmq.com/getstarted.html
  Monitoring:  https://rabbitmq.com/monitoring.html

  Logs: /usr/local/var/log/rabbitmq/rabbit@localhost.log
        /usr/local/var/log/rabbitmq/rabbit@localhost_upgrade.log
        <stdout>

  Config file(s): (none)

  Starting broker... completed with 7 plugins.
RabbitMQ 실행
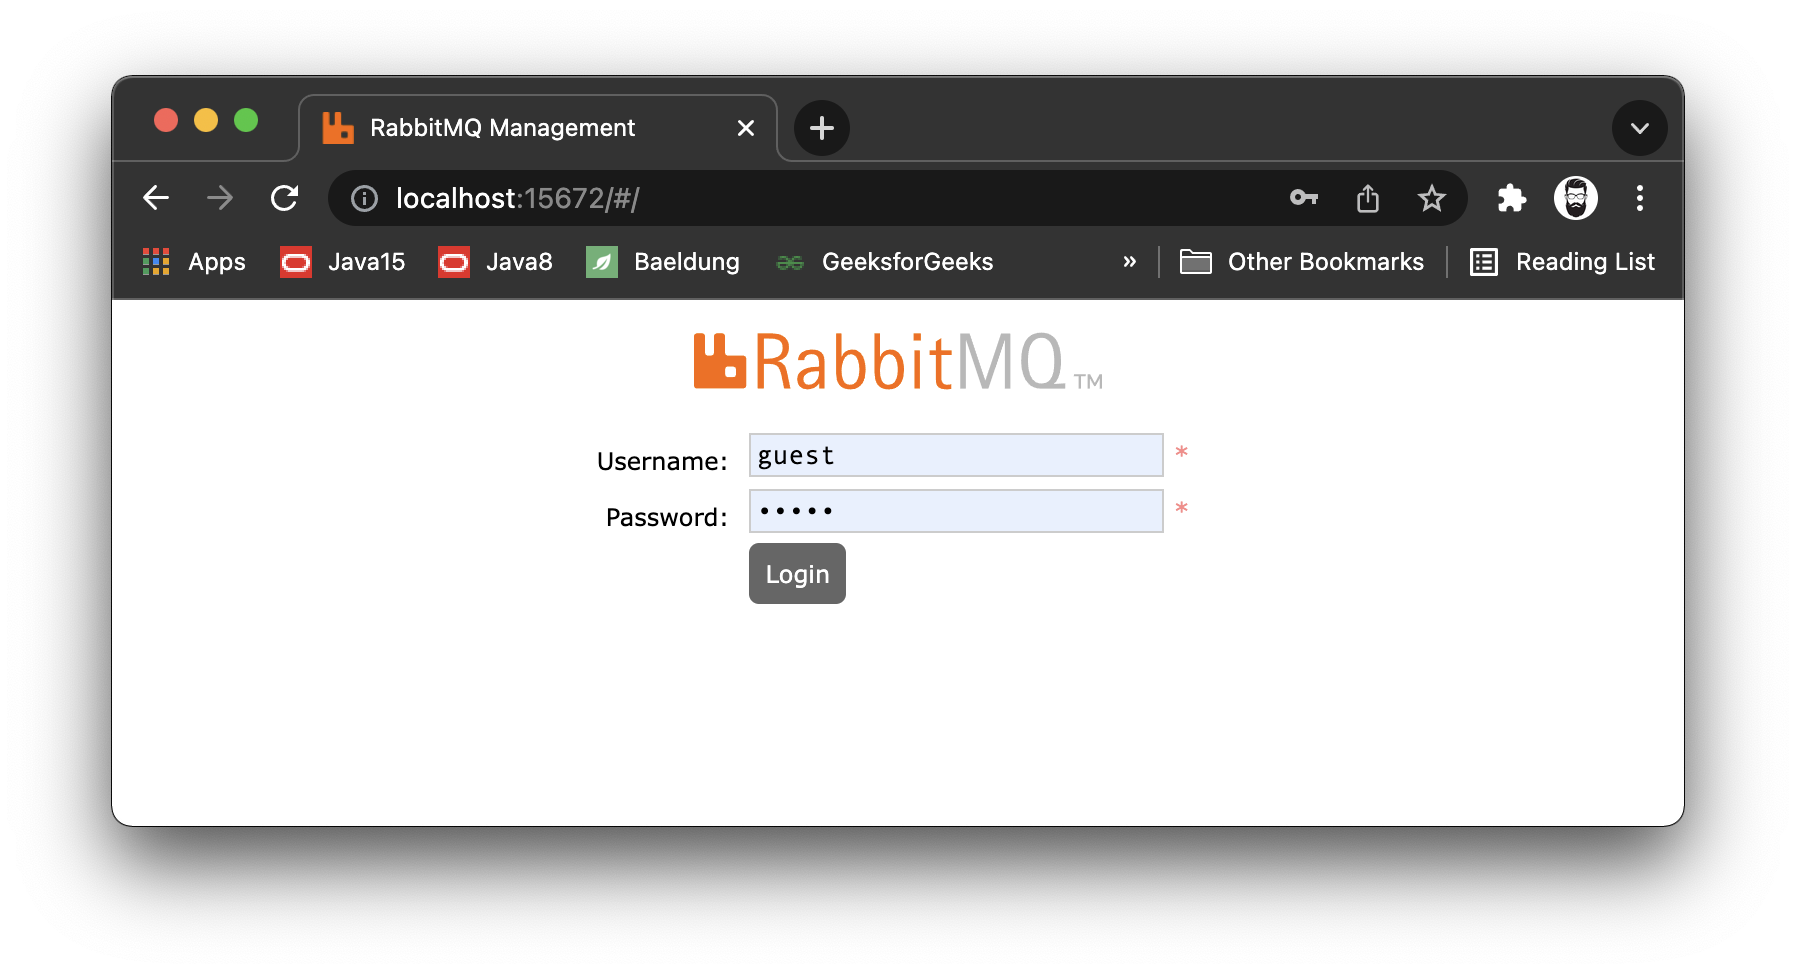
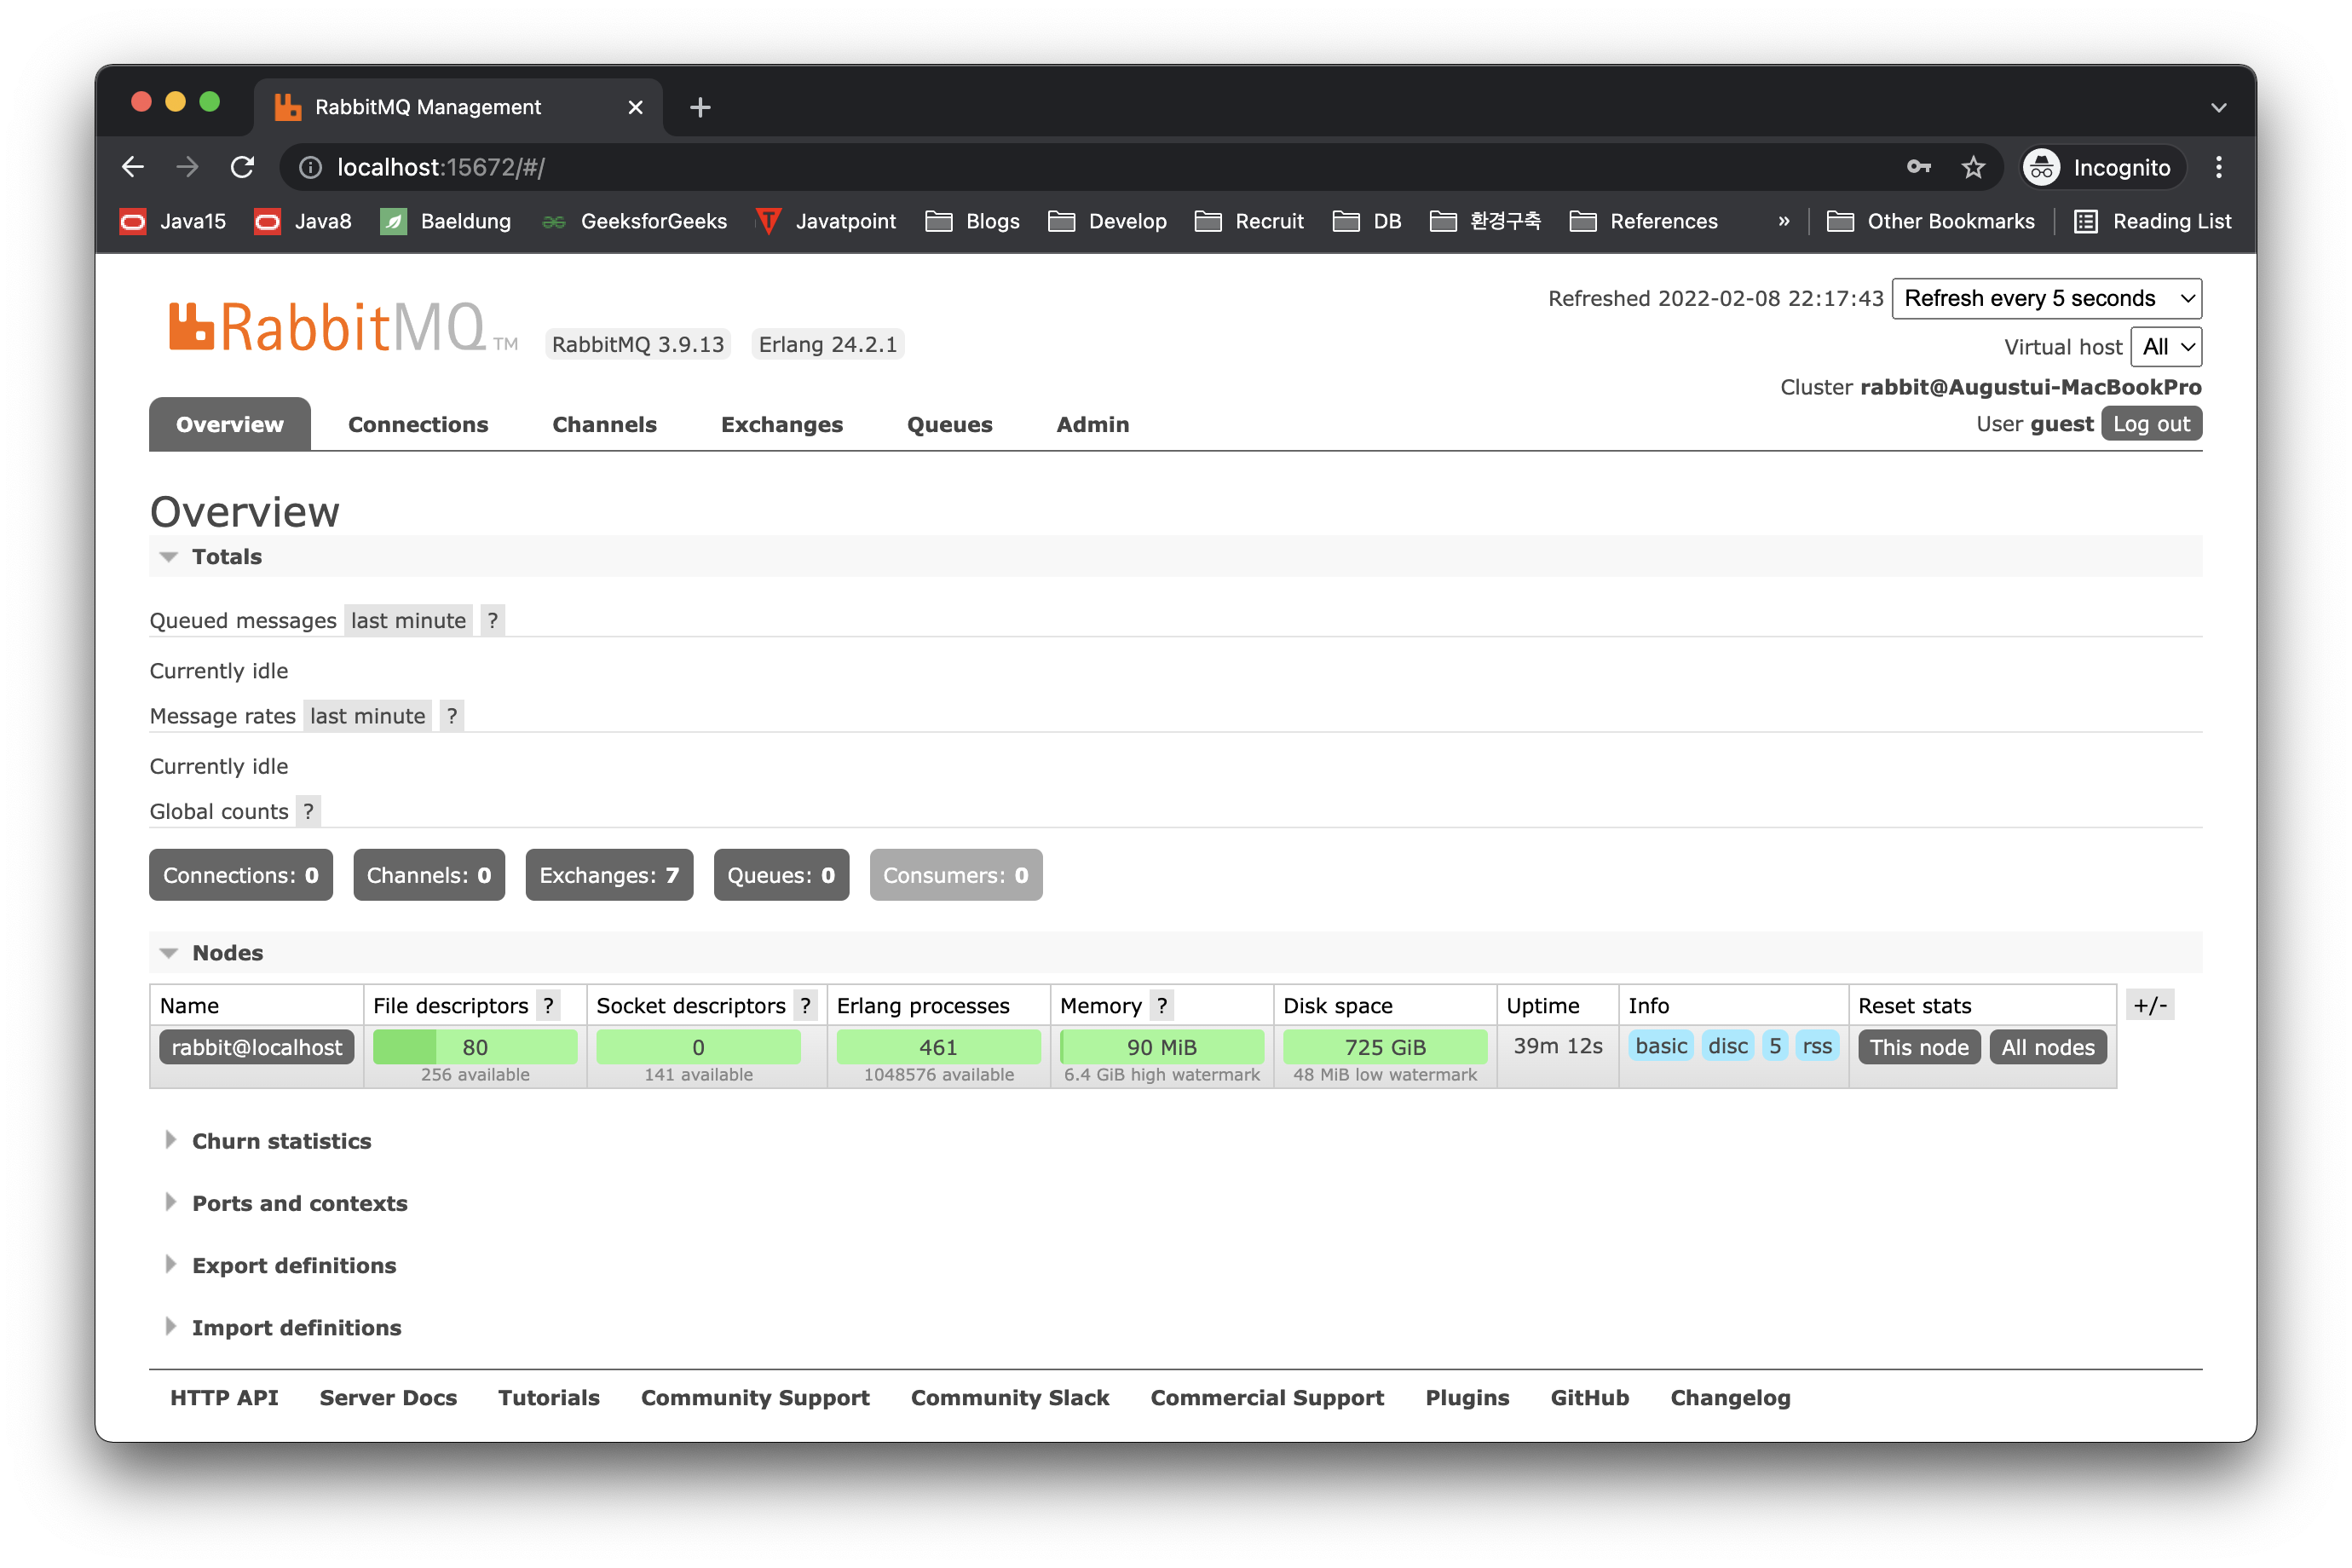
rabbitmq-server명령어로 서버를 실행했다면 http://localhost:15672로 접속하면 모니터링 페이지를 볼 수 있다. 기본 계정과 비밀번호는 guest/guest이다.
Admin 탭에서 새로운 계정을 생성할 수 있다.
References
- https://www.rabbitmq.com/install-homebrew.html
- https://www.rabbitmq.com/tutorials/tutorial-one-java.html
This post is licensed under CC BY 4.0 by the author.

